Make your shared gate HomeKit and Carplay compatible with SwitchBot and Matter
November 23, 2024
A cikk magyar változatáért kattints ide.
Ground Zero 💭
I live in an apartment building where I can only park my car after opening a shared gate controlled by a remote. Since my car supports Apple CarPlay, it would be convenient to use Siri, tap a button on the display, or even automate the gate opening when I turn onto my street. However, this would require making the gate HomeKit-compatible somehow. The challenge is that, as shared property, I obviously cannot install relays or modify any hardware. This must be solved purely with software—almost.
How could we do this? 🤔
A straightforward solution would be to clone the radio signal and send it using a Broadlink device, similar to how I automated my shutters. Unfortunately, gate and garage openers don’t use the 433MHz frequency, and in addition to being rolling-code, they also transmit encrypted signals, ruling out cloning altogether.
An alternative would be to install a HomeKit-compatible relay in the gate’s control box (like a Shelly relay I used for my kitchen LEDs and bathroom cabinet lighting). After all, remotes simply trigger a switch in the control box. But this would require tampering with shared property, which I want to avoid. Moreover, the relay would need stable connectivity to the internal network, and the Wi-Fi signal doesn’t reliably reach the gate—it doesn’t reach at all when aluminum shutters are lowered.
Software alone won’t cut it – Bring in the robots! 🤖
While brainstorming, I remembered hearing about small, simple robots that can press switches or buttons. Several manufacturers produce such devices, but SwitchBot is the most prominent and widely supported platform. If I attached one of these robots to my gate remote, it could press the button for me, and the gate would open. I ordered a SwitchBot Bot robot and the accompanying SwitchBot Hub Mini controller as a trial.
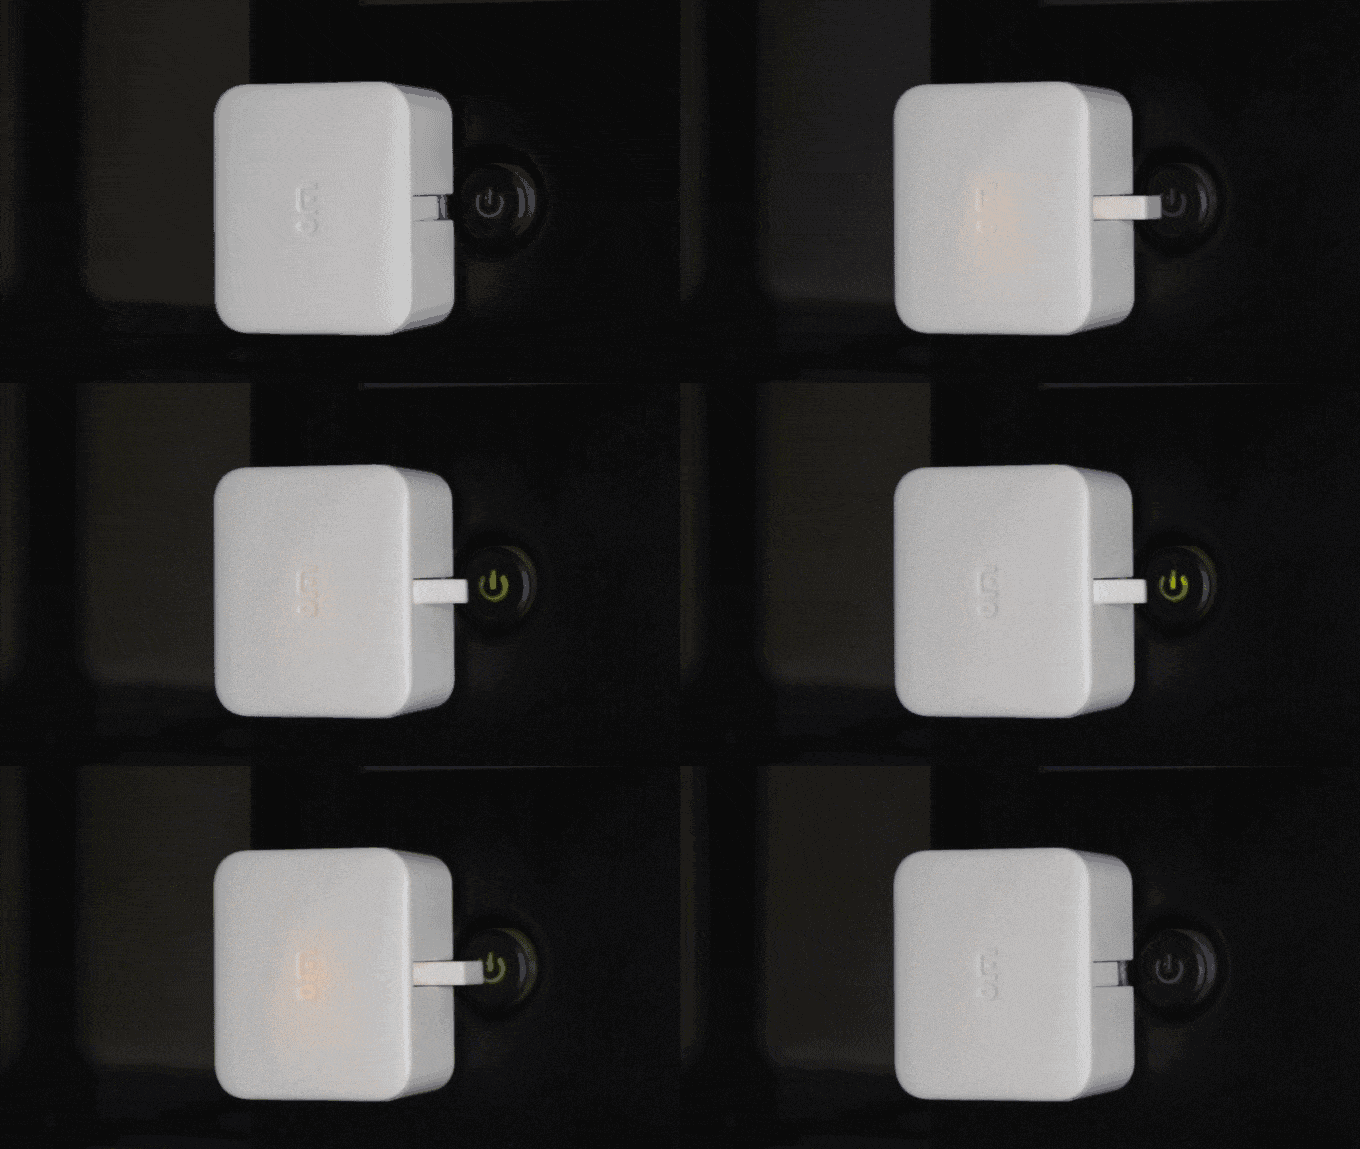
Using the included double-sided adhesive tape, I mounted the robot onto the remote so that it could press the correct button. I housed the entire setup in an OBO electrical box and installed it on the external wall next to my window (more details later).
First attempt – SwitchBot and HomeBridge 1️⃣
Since SwitchBot is the most popular manufacturer in this category, a large community—and even some dedicated team members—focus on maintaining and updating the existing HomeBridge plugin. Installation is straightforward: You need to provide your account’s token and secret, then add your robot’s DeviceID, which is simply its BLE MAC address without colons.
I won’t go into detailed setup steps because, after more than a year and a half of use, this implementation became increasingly unreliable, leading me to abandon it:
The first issue arose from the plugin’s feature that lets you specify how the robot should appear in HomeKit. It can be set up as a garage door, which worked beautifully for about a year. However, after an update, the device’s status became permanently stuck on “Opening.” This was problematic because:
- The button could not be pressed from the car.
- It looked dumb to have a door perpetually in the “Opening” state.
Although many reported this bug to the developers, it remains unresolved to this day.
- The second issue was the increasing frequency of connectivity problems with the SwitchBot openAPI. This backend server facilitates commands issued from outside the SwitchBot app (e.g., through HomeBridge or HomeKit). This became frustrating, as I had grown accustomed to seamlessly opening the gate from my car, phone, or smartwatch, only for the backend to occasionally fail and render the setup useless.
Second attempt – SwitchBot and Matter 2️⃣
Thankfully, SwitchBot has kept up with the times, and their newer hubs now support the Matter smart home standard. This is fantastic news because certain supported SwitchBot robots can now appear as quasi-native HomeKit devices under the Matter standard. You can find the list of supported devices here, but the key takeaway is that the small robots (Bots) are supported and appear as On/Off switches.
This eliminates the need for the erratic HomeBridge plugin, as commands issued in HomeKit are sent directly from HomeKit hubs to the SwitchBot Hub 2 using the Matter protocol—there are no intermediate servers, downtime, or problematic plugin updates.
I ordered the hub, quickly set it up, updated its firmware, scanned the Matter QR code, and added it to my Apple HomeKit setup. Follow the instructions in the SwitchBot app carefully, as you’ll need to put the Hub 2 into Matter pairing mode. After that, you can add compatible SwitchBot devices—like my button-pressing robot and the Hub 2’s built-in temperature and humidity sensors.
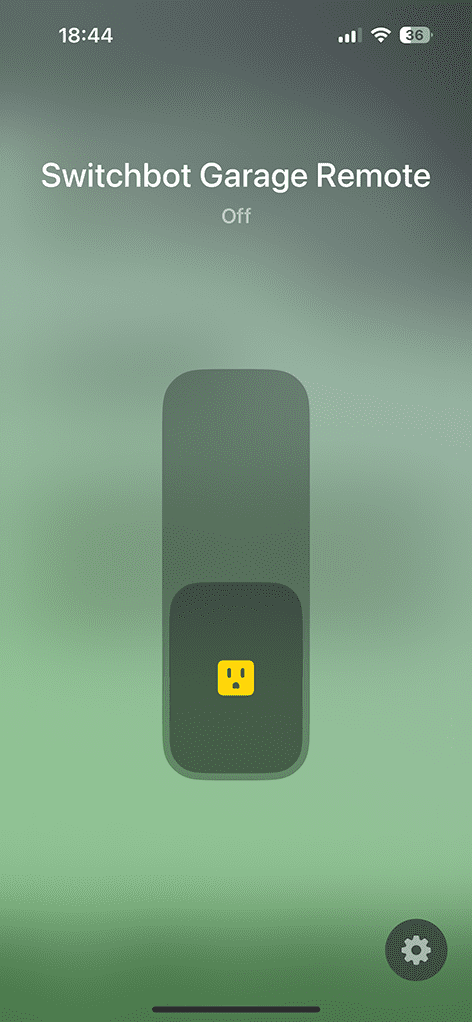
If done correctly, the Bot will appear as a switch in HomeKit.
Okay, but how does this gets us a garage door in HomeKit? 🚪
While the functionality is now in place, fine-tuning still requires HomeBridge. You cannot configure the robot as a garage door type in HomeKit through Matter. To solve this, we need:
The Dummy Garage plugin for HomeBridge, which you can find here.
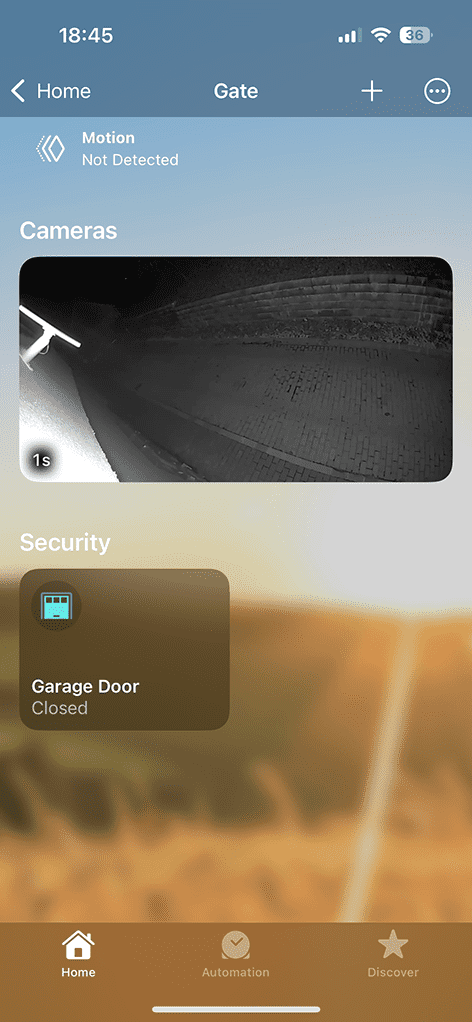
This plugin creates a virtual garage door in your HomeKit setup that can:
- Be opened and closed.
- Include an automatic closing timer (to avoid being stuck in the “Open” state).
The virtual garage door then needs to be linked to the SwitchBot robot.
Time for automation! 🦾
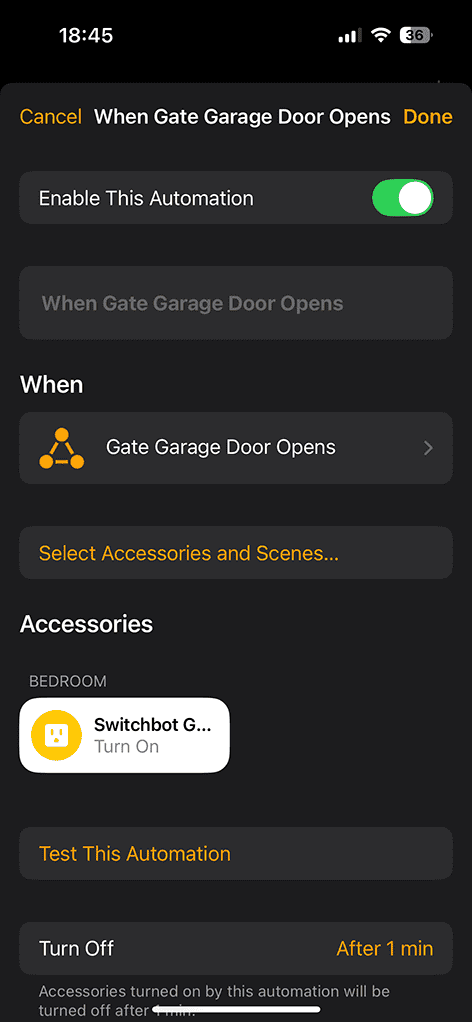
Linking the two devices is simple with basic automation. Open the Home app on your iPhone, iPad, or Mac, go to the Automations tab, and create a new automation. Set it so that when the Dummy garage door opens (via button press, Siri, or another automation), it turns “on” the SwitchBot robot. You can also set the robot to turn off and the Dummy door to close automatically after 1 minute to prevent state inconsistencies.
Now, the Dummy garage door is no longer a dummy—it presses the remote button via the robot.
A few extra tips 💡
Here are some tips to ensure smooth operation:
- Signal range matters. If the remote’s signal doesn’t reach the gate from its placement, the robot’s button presses will be useless.
- The Hub communicates with the Bot via Bluetooth Low Energy (BLE). Keep the Hub and Bot close enough to ensure reliable connectivity, especially if the Bot is placed outside (as in my case) and needs to transmit through windows or shutters.
- Why place the Bot outside? In my case, lowered aluminum shutters significantly weakened the remote’s signal to the gate, necessitating outdoor placement.
- Batteries need attention. The Bot and the remote both run on batteries, so mount them in a way that allows easy replacement.
- For outdoor setups, use weatherproof enclosures. Measure the space needed for both the Bot and the remote, secure them inside a weatherproof box, and mount it outside. While this setup hasn’t faced harsh winters yet, I expect it to perform well, as gate electronics are similarly housed in such boxes.
Final thoughts 🏁
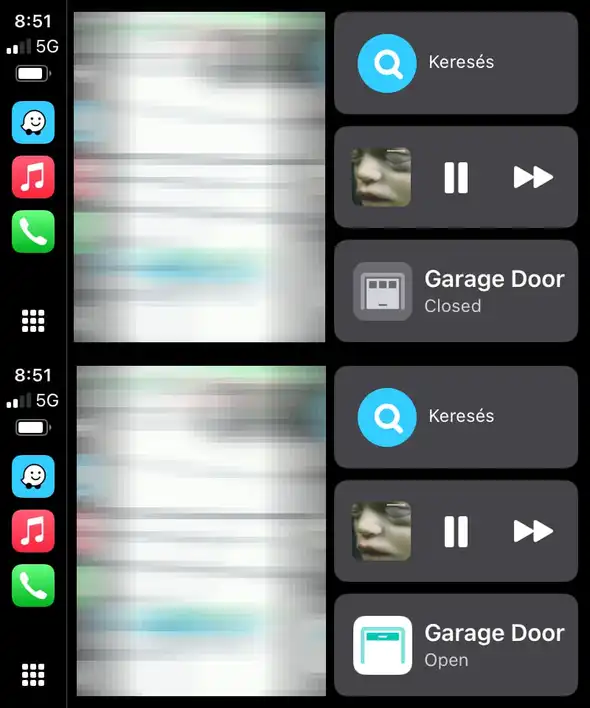
This solution works reliably; ultimately, HomeBridge is not required for gate control. However, integrating HomeBridge allows for more elegant setups, such as maximizing CarPlay functionality.
It’s amusing to think that a small robot’s sole purpose is to press a button for me, but it reminds me of a favorite Rick & Morty episode:
Coming Next
In my next post (hopefully not three years from now like last time), I’ll show you how to integrate almost any smart camera (e.g., Ring cameras) into HomeKit Secure Video for features like facial recognition and iCloud video storage. Stay tuned!
